 Save to Pins
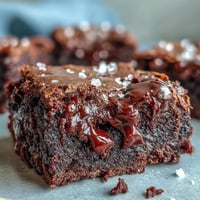
 My sourdough starter had been neglected for weeks, sitting in the back of my fridge like a forgotten science experiment, when I finally decided to do something useful with all that discard instead of dumping it down the drain. That's when I remembered a passing comment from a baker friend about using sourdough in brownies for extra chew and complexity. The first batch was honestly an accident born from stubbornness—I wanted to use three kinds of chocolate because I had them all open anyway, and the result was so fudgy and deep that I've made them a dozen times since.
I brought these to a potluck once, nervous about explaining the sourdough element, but they disappeared faster than anything else on the table. Someone asked for the recipe before even finishing their first brownie, and when I mentioned the discard ingredient, they got this look of delighted surprise. That's when I knew this wasn't just a way to use up kitchen scraps—it was genuinely something special worth making on purpose.
What's for Dinner Tonight? 🤔
Stop stressing. Get 10 fast recipes that actually work on busy nights.
Free. No spam. Just easy meals.
Ingredients
- Bittersweet chocolate (120 g): This is your foundation—get something around 70% cacao for that sophisticated bitter edge that stops these from tasting one-dimensional.
- Milk chocolate (60 g): Acts as a sweet counterbalance and softens the bittersweet intensity without overwhelming it.
- Unsweetened Dutch-process cocoa powder (30 g): The dark, complex flavor here reinforces the chocolate story and adds a velvety texture.
- Unsalted butter (115 g): Room temperature is easier to work with, but cold works fine if you're melting it anyway.
- Granulated and light brown sugar (250 g combined): The brown sugar adds moisture and subtle molasses notes that pair beautifully with sourdough tang.
- Sourdough discard (120 g): Use unfed discard—the kind that hasn't been freshly fed—because it brings that characteristic tang without overpowering fermentation flavors.
- Large eggs (2): Room temperature means they blend into the batter more smoothly, creating better structure.
- Pure vanilla extract (1 tsp): Don't skip this; it amplifies all the chocolate flavors rather than adding vanilla flavor.
- All-purpose flour (80 g): Measured by weight for accuracy; too much makes them cakey, too little makes them fall apart.
- Fine sea salt (1/2 tsp): This is your secret amplifier for chocolate flavor, making everything taste more intensely like itself.
- Semi-sweet chocolate chips or chunks (60 g): These stay distinct during baking rather than melting completely, creating texture variation throughout.
Instructions
- Get your pan ready:
- Preheat your oven to 350°F and line your 8-inch square pan with parchment, letting the edges overhang so you can lift the whole thing out later without wrestling with a spatula. This single step saves you from broken brownie corners.
- Melt the chocolate trio:
- Chop all three chocolates and toss them with the cocoa powder and butter into a heatproof bowl. If you're using a double boiler, keep the water at a gentle simmer—aggressive heat can make chocolate seize and become grainy. Microwave works too if you do 30-second bursts and stir between each one, which gives you more control.
- Build your egg foundation:
- In a separate bowl, whisk the two sugars with eggs and vanilla until the mixture turns noticeably paler and thickens slightly, which takes about 2-3 minutes of actual whisking. This incorporates air that helps create the structure you need for that perfect wobbly center.
- Add the sourdough:
- Whisk the sourdough discard into the cooled chocolate mixture until there are no streaks left. It'll look a bit lumpy at first, but keep whisking and it smooths out.
- Combine chocolate and egg:
- Pour the chocolate mixture into the egg mixture and mix gently with a whisk until you can't see distinct swirls anymore. This is where restraint matters—you're not trying to beat air into it.
- Add flour and salt:
- Sift the flour and salt over the top of the batter, then fold everything together with a spatula using gentle motions until the flour disappears. Stop as soon as you don't see white streaks; overmixing develops gluten and makes brownies tough.
- Fold in the chocolate chips:
- Scatter the semi-sweet chips over the batter and fold them in with minimal stirring so they stay whole and don't break apart.
- Into the pan:
- Pour the batter into your prepared pan and smooth the top with your spatula, but don't obsess over making it perfect—slight imperfections are part of their charm.
- The bake:
- Bake for 28-32 minutes, aiming for the edges to be clearly set while the very center still looks slightly soft and jiggles when you gently shake the pan. The residual heat keeps cooking it as it cools, so pulling them out a minute early is safer than a minute late.
- Cool completely:
- Let them sit in the pan on a wire rack until completely cool, which takes longer than you think but is crucial for structure. Only then pull them out using the parchment overhang and slice into sixteen squares.
 Save to Pins
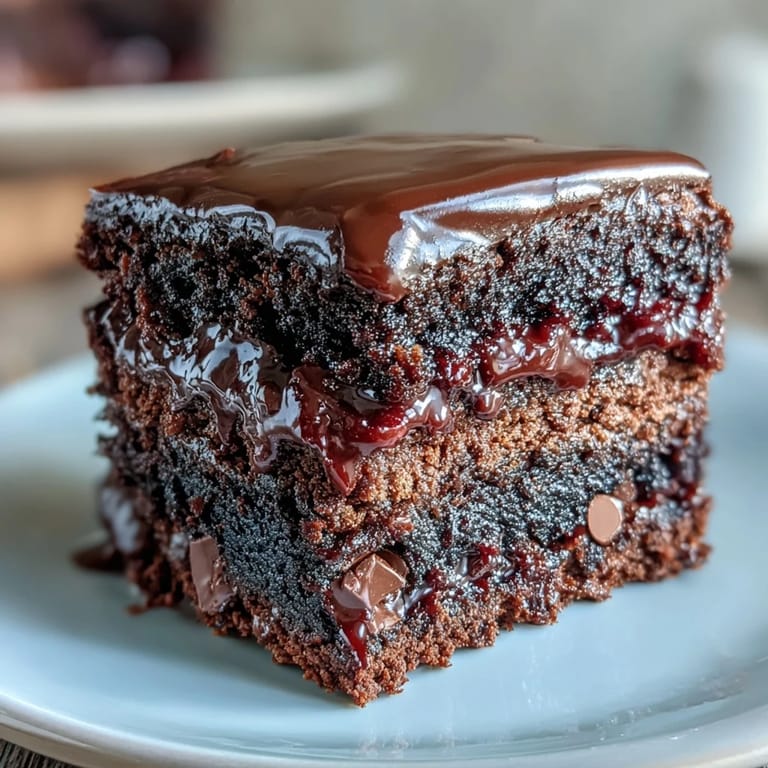
 My mom tried these once and asked why they tasted so good, and when I explained the sourdough element, she got quiet for a moment before saying it made sense—that there was a depth to them that regular brownies lacked. It turned into a whole conversation about how sometimes the best discoveries come from working with what you have rather than starting from some perfect recipe, and honestly, that's what these brownies feel like.
The Sourdough Advantage
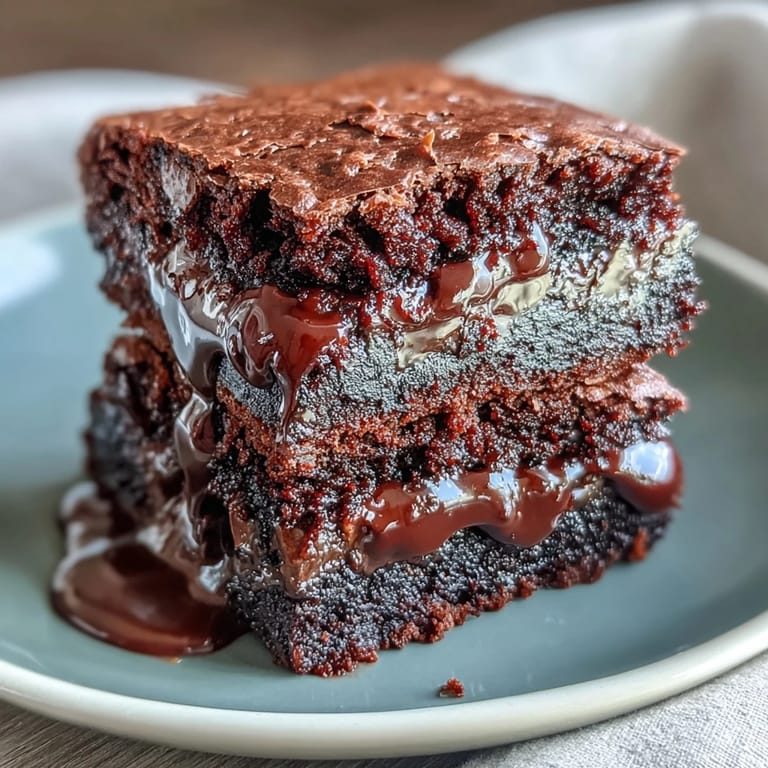
Using sourdough discard instead of the usual amount of baking soda or leavening agents creates a chemical reaction that produces extra moisture and a subtle tang. The acid in the sourdough reacts with the baking soda naturally present in cocoa powder, creating a gentle rise that keeps these from becoming dense hockey pucks. It also means you're tenderizing the crumb as you bake, which is why these stay chewy for days instead of hardening up.
Chocolate Selection Matters
I learned the hard way that not all chocolate brands create the same result—some melted into a greasy puddle while others stayed silky and smooth. Higher quality chocolate with actual cocoa butter melts more evenly and tastes noticeably better, which makes a huge difference when chocolate is literally the star of the show. It doesn't have to be fancy or expensive, just something with ingredients you recognize and a cocoa percentage you can identify.
Storage and Serving
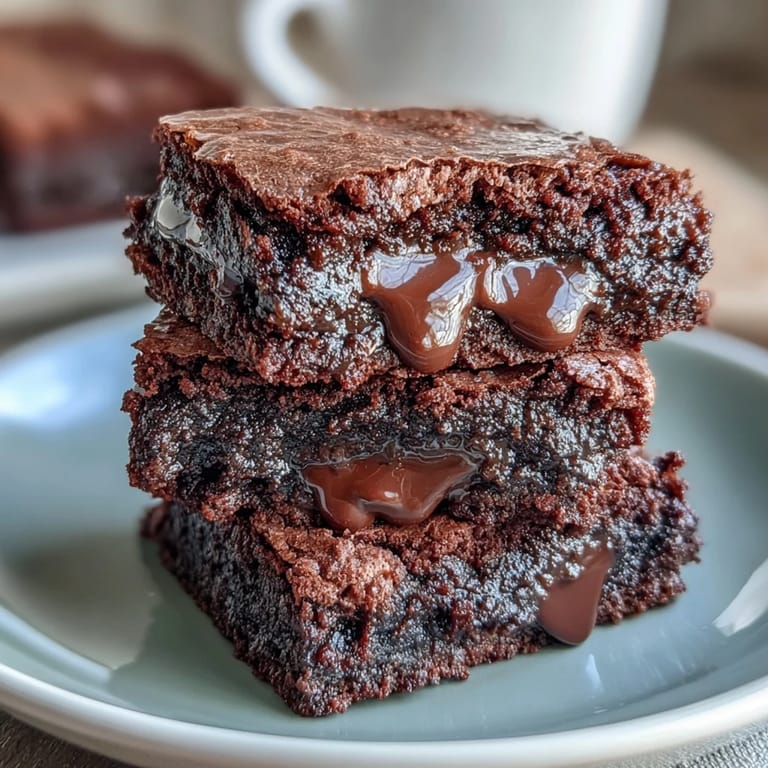
These brownies actually taste better after a day or two, once the flavors have melded and the texture firms up just slightly. Keep them in an airtight container at room temperature, and if you want maximum chew, chill them for at least an hour before slicing—cold brownies hold together better and taste richer.
- For extra texture contrast, sprinkle 1/2 cup of chopped toasted walnuts or pecans into the batter just before baking.
- Serve these with a scoop of vanilla ice cream and watch the cold sweetness play against the warm fudgy depths.
- If you somehow have leftovers, they freeze beautifully wrapped individually in parchment and foil.
 Save to Pins
 These brownies remind me that sometimes the best recipes come from curiosity and using what's actually in your kitchen rather than shopping from a list. Every time I make them, I'm grateful for that forgotten starter in the back of my fridge.
Frequently Asked Questions
- → What does sourdough discard add to the brownies?
It provides a subtle tang and contributes to a uniquely chewy texture, enhancing depth without overpowering the chocolate flavors.
- → Can I substitute different chocolates?
Yes, dark chocolate can replace bittersweet, and you may mix various types to suit your taste preferences.
- → How do I ensure chewy brownies?
Avoid overbaking by removing from the oven when edges are firm but centers still slightly soft. Chilling before slicing also enhances chewiness.
- → What pan size is best for these brownies?
An 8-inch square pan provides the right thickness and baking time for optimal texture and even cooking.
- → Are there recommended additions to add texture?
Chopped toasted walnuts or pecans can be folded in before baking for crunch and flavor contrast.