 Save to Pins
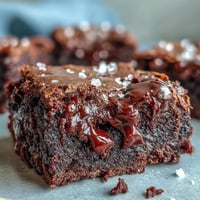
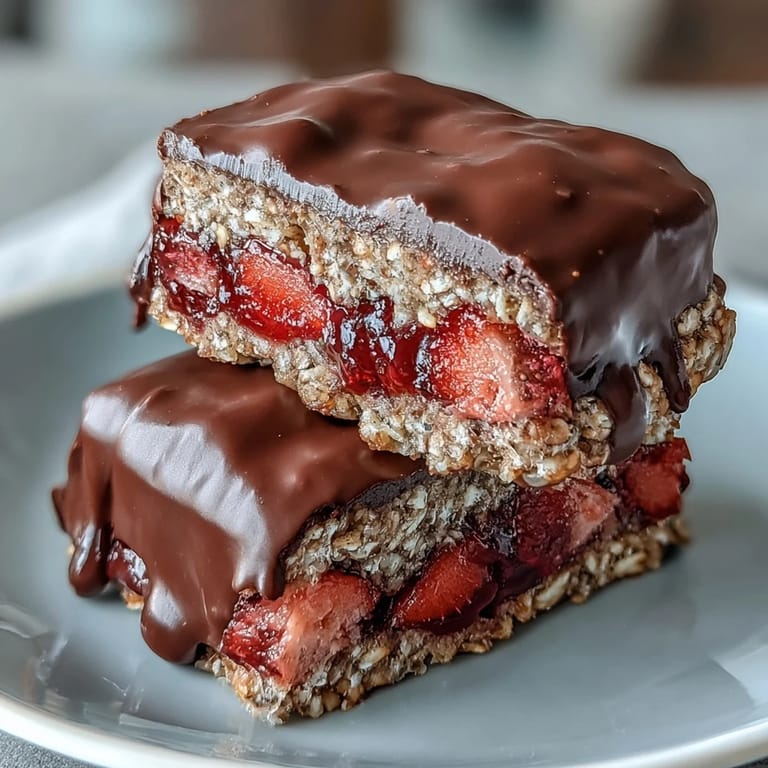
 My sister texted me a photo of chocolate-covered strawberries at a café, and I remember thinking: why not turn that into something you can actually hold without sticky fingers? That's how these bars came to life one lazy Saturday afternoon when I had exactly three ingredients I needed to use before they went bad. The magic happens when that chewy oat base meets the bright tartness of strawberry jam, all sealed under a dark chocolate shell that cracks when you bite into it. No fancy equipment needed, no baking required—just mixing, pressing, and patience while the fridge does the heavy lifting.
I brought these to a book club meeting on a whim, wrapped them in brown paper like I'd planned it for weeks, and watched them disappear before anyone even sat down. Someone asked for the recipe right then, chocolate still smudging her fingers, and I realized I'd accidentally made something people would actually request. That's the moment I knew these bars deserved a permanent spot in my rotation.
What's for Dinner Tonight? 🤔
Stop stressing. Get 10 fast recipes that actually work on busy nights.
Free. No spam. Just easy meals.
Ingredients
- Old-fashioned rolled oats (2 cups): The foundation that gives these bars their signature chew; don't swap for instant or steel-cut, as the texture won't hold up the same way.
- Almond flour (1 cup): This adds structure and nuttiness without being heavy, making the base feel more refined than oats alone.
- Creamy peanut or almond butter (1/2 cup): The binding agent that holds everything together while adding richness and subtle flavor depth.
- Pure maple syrup or honey (1/4 cup): Your sweetener of choice—maple brings earthiness, honey adds floral notes, so pick based on your mood.
- Melted coconut oil (1/4 cup): This keeps the bars from becoming dense, creating that tender crumb that melts slightly on your tongue.
- Vanilla extract (1/2 tsp): A small amount that whispers in the background, bridging the oat and strawberry flavors together.
- Salt (1/4 tsp): The secret that makes everything taste more like itself, cutting through sweetness and amplifying every other flavor.
- Strawberry preserves (3/4 cup): Low-sugar versions work better here because they won't make the bars weep or become soggy over time.
- Freeze-dried strawberries (1/2 cup), lightly crushed: These add texture and concentrated strawberry flavor that fresh berries can't deliver, plus they won't release moisture.
- Semi-sweet or dark chocolate (6 oz), chopped: Quality matters here since it's the final impression; dark chocolate adds sophistication, semi-sweet keeps things approachable.
- Coconut oil for chocolate (1 tbsp): This thins the chocolate just enough to drape elegantly over the bars without overpowering the chocolate flavor itself.
Instructions
- Set up your workspace:
- Line your 8x8-inch pan with parchment paper, leaving enough overhang on two sides so you can lift the entire block out later—this is the difference between bars that slide out cleanly and ones that crumble at the edges.
- Build your base mixture:
- Combine the oats, almond flour, nut butter, maple syrup, melted coconut oil, vanilla, and salt in one bowl and stir until everything's bound together in a slightly sticky, cohesive mass. You want it to feel like wet sand that holds its shape when you squeeze it.
- Press down the foundation:
- Take two-thirds of that mixture and press it firmly into the bottom of your prepared pan, using the back of a spoon or your fingers to create an even, compact layer about 1/4-inch thick. This is your structural base, so don't rush it.
- Spread the strawberry layer:
- Spread the strawberry preserves evenly across the oat base, then scatter your crushed freeze-dried strawberries over top, pressing gently so they stick into the jam. This layer is where the brightness lives, so be generous.
- Add the crumbly topping:
- Take the remaining oat mixture and crumble it between your fingers, sprinkling it across the strawberry layer and pressing gently to create a texture that's textured but not compressed. You want pockets of texture here, not another dense layer.
- Melt your chocolate carefully:
- Chop your chocolate into small, even pieces, place them with the coconut oil in a microwave-safe bowl, and heat in 30-second bursts, stirring between each one until completely smooth. Overheating chocolate turns it grainy and bitter, so patience is your friend here.
- Finish with chocolate:
- Either drizzle the melted chocolate across the top in artistic lines or wait until bars are fully chilled, cut them, and dip the edges into warm chocolate for a more polished look.
- Chill until firm:
- Refrigerate for at least 2 hours, though overnight is even better—this gives everything time to set and allows the flavors to meld.
- Cut and serve:
- Use the parchment overhang to lift the entire block from the pan, place on a cutting board, and slice into 12 roughly equal bars with a sharp knife, wiping the blade between cuts for clean edges.
 Save to Pins
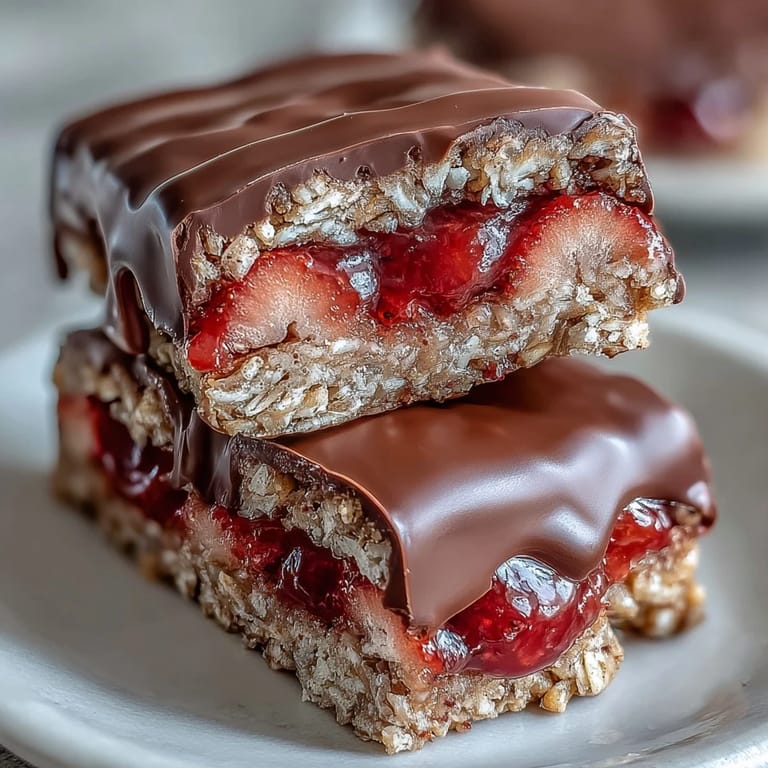
 My nephew called them 'strawberry treasure boxes' and wanted to know if they could always be in the freezer, which felt like the highest compliment a ten-year-old could give. These bars stopped being just a snack and became a conversation piece, proof that the simplest things—oats, jam, chocolate—are sometimes exactly enough.
The No-Bake Beauty of These Bars
There's something deeply satisfying about making dessert without turning on the oven, especially during summer when your kitchen is already warm enough. The cold setting process means you can make these early morning and they'll be ready by afternoon, or prepare them the night before and cut them fresh for breakfast the next day. I've made these while catching up on podcasts, while helping with homework, while barely paying attention—and they've never once let me down.
Customizing Your Bars
The beauty of this recipe lies in its flexibility; the jam layer is your canvas, so feel free to explore whatever preserves call to you. I've made versions with raspberry jam when strawberries weren't in season, apricot when I wanted something warmer, and even mixed berries when I had a partial jar sitting in the fridge. The oat base stays the same, reliable and ready to support whatever fruit flavor you choose to showcase.
Storage and Make-Ahead Magic
These bars live happily in the refrigerator for up to a week, staying fresh and chewy without any special treatment beyond keeping them in an airtight container. For longer storage, freeze them in a single layer for a few hours, then pack them into freezer bags where they'll keep for up to three months—though honestly, they rarely last that long in any kitchen I know. If you're planning ahead for a gathering or just want emergency dessert on hand, these are your answer.
- Cut them while cold for cleaner edges, then let them sit at room temperature for five minutes before eating if you prefer a softer texture.
- Layer parchment paper between bars if stacking them to prevent the chocolate from sticking to the next layer.
- If your chocolate topping cracks when you bite in, that's actually perfect—it means it's set properly and will stay in place.
 Save to Pins
 These bars are proof that sometimes the best treats don't need complexity, just good ingredients treated with respect and a willingness to let time do the work. They've earned their place on my regular rotation, and I think they'll earn one on yours too.
Frequently Asked Questions
- → What oats work best for these bars?
Old-fashioned rolled oats provide the ideal texture and absorb moisture well, ensuring the bars hold together without becoming too dense.
- → Can I substitute the nut butter used in the oat base?
Yes, you can replace peanut or almond butter with sunflower seed butter for a nut-free option while maintaining the creamy texture.
- → How should the strawberry layer be prepared?
The strawberry preserves should be spread evenly over the oat base, then sprinkled with crushed freeze-dried strawberries to enhance natural flavor and add a pleasant texture contrast.
- → Is the chocolate topping melted before applying?
Yes, melt the semi-sweet or dark chocolate with coconut oil in short intervals until smooth, then drizzle or dip the bars for a rich finish.
- → What is the recommended chilling time for optimal texture?
Refrigerate the assembled bars for at least 2 hours to allow them to firm up properly, making them easier to cut and handle.
- → Can different fruit preserves be used instead of strawberry?
Absolutely, raspberry or apricot preserves can be substituted to vary the flavor while maintaining the layered structure.